TheRcModelBoatForum.com
Please login using your username and password to use the forum.

If you do not have an account please register to participate, it’s free!
TheRcModelBoatForum.com
Would you like to react to this message? Create an account in a few clicks or log in to continue.


https://www.thercmodelboatforum.com/
 
HomeHome  PortalPortal  Latest imagesLatest images  RegisterRegister  Log inLog in  


 Dumas Ske Vee 10

Go down 
2 posters
AuthorMessage
Roadrunner
Forum Overlord
Forum Overlord
Roadrunner


Posts : 1708
Join date : 2011-06-10

Dumas Ske Vee 10 Empty
PostSubject: Dumas Ske Vee 10   Dumas Ske Vee 10 EmptyThu Jan 14, 2016 9:38 pm

just a quick post on the current boat project i'm up to its not much of a blog this time hence its just posted here but i figured i would share a few photos as i progress with this boats planking.

Kit is as new but its an old one, Dumas ske vee 10, over the past week i've built up the boats frame and skin layers and opted yet again to do a planked deck for added wow factor, this is the older boat i was after an engine for and still looking if anyone can help there?

The boat its self is ply frames and press cut hull and deck panels from ply and 1mm mahogany, to which i've had to replace the side skin as the ply was badly warped to a point which would have made fitting a nightmare, so the side is skinned in 2mm mahogany strips, and the deck panel is now being top skinned with 5mm strips with 1mm lime wood inlay.

Dumas Ske Vee 10 12511510

more coming soon.

_________________
I'm  Not  Anti-Social,  I'm  Anti-Stupid.
Back to top Go down
https://www.thercmodelboatforum.com
Roadrunner
Forum Overlord
Forum Overlord
Roadrunner


Posts : 1708
Join date : 2011-06-10

Dumas Ske Vee 10 Empty
PostSubject: Re: Dumas Ske Vee 10   Dumas Ske Vee 10 EmptySat Jun 18, 2016 2:07 am

Dumas Ske Vee 10 Image11
Dumas Ske Vee 10 Image10
Dumas Ske Vee 10 Image12
Dumas Ske Vee 10 Image13Few updates photos before varnishing commences

_________________
I'm  Not  Anti-Social,  I'm  Anti-Stupid.
Back to top Go down
https://www.thercmodelboatforum.com
Guest
Guest


Dumas Ske Vee 10 Empty
PostSubject: Re: Dumas Ske Vee 10   Dumas Ske Vee 10 EmptySat Jun 18, 2016 3:54 am

2thumbsup 2thumbsup 2thumbsup 2thumbsup 2thumbsup 2thumbsup 2thumbsup 2thumbsup 2thumbsup 2thumbsup 2thumbsup 2thumbsup 2thumbsup 2thumbsup 2thumbsup 2thumbsup
                                                        Thumbup
Back to top Go down
Roadrunner
Forum Overlord
Forum Overlord
Roadrunner


Posts : 1708
Join date : 2011-06-10

Dumas Ske Vee 10 Empty
PostSubject: Re: Dumas Ske Vee 10   Dumas Ske Vee 10 EmptyWed Jul 27, 2016 1:13 pm

As promised although a little late, a quick tutorial on using expoxy varnish, 

You need to prepare the surface with a good rubdown starting with 120 grit working to finish with 600, take your time as the better the sanding surface the better the overall finish.

Wipe down the boat to clean any dust and dirt off along with any other items that appear as once you varnish these become permant in the varnish layers!

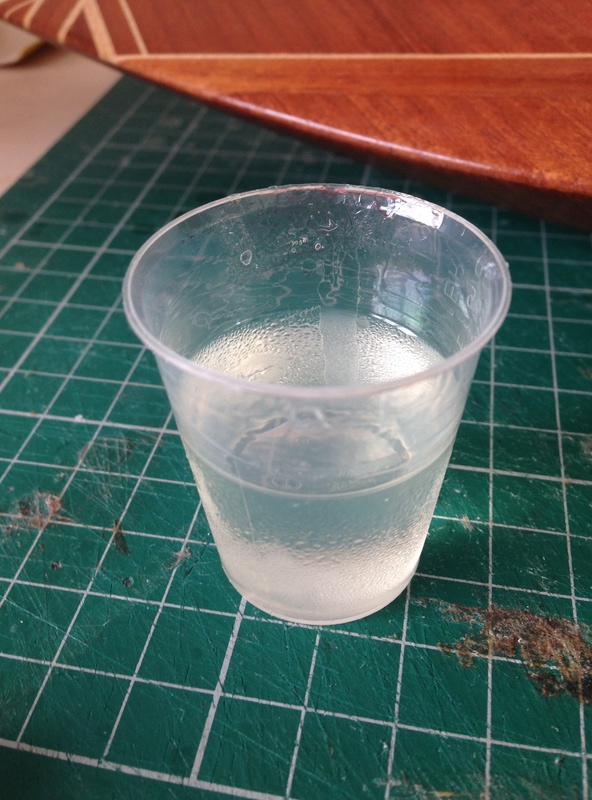
The process is very simple, mix up the expoxy in the ratio dictated by the instructions, in this case 4:1, for those who like me belive sealing the surface requires a bit more attention then in the 4:1 ratio of resin and hardener you can add the ratio of 4:1:1 the 2nd one being thinners.

Now using a soft brush you can apply the varnish to the surface of the wood, go with the grain for better penetration, if using a mix with thinners you will need to do two coats the 2nd after 2 hours and then left to set for 24 hours.
After that you cannot use a thinned coat again on the expoxy or it will cause you issues later, all other coats from now on should be neat with the correct ratio of Hardener and resin.

After you have applied the it's coat, leave it for anywhere between 1-2 hours, the temperature will dictate how soon after a 2nd coat is required, in most cases it's 2 hours between coats at 21 degrees but if it's warmer then normal it may only be m hour, best test is to touch the surface it should be dry but a little tacky, if it's dry and just feels like mild sicky tape then you need to leave it overnight, the epoxy works by melting the previose surface to bond, so if you have left it to long then the 1st coat will craze, or worse peel. If unsure just do one coat even 24 hours.

Every 2nd coat you will need to lightly rub the surfaces down with 600 grit with plenty of water, this is to keep the surface flat and smooth as well as aiding the next layers to bond correctly. The sanded surface should have no shiny spots visible. Although this might not be apparent until you have some 10 layers of varnish in place.

Keep going until you have the shine you want in most cases anywhere between 12- 22 layers is enough, smaller boats can get away with the lower amount of layers larger boats benefit from more, but there is no reason why you can't do 20 layers on every surface regardless of size, it's just material and time you wish to expend.

Although that said after extensive use of this I will note that 22 layers of varnish is enough to give you one hell of a solid surface as well as polishing to a mirror without fault.

The next couple of images show my process. 

I've started with the boat pre sealed with 2 coats of expoxy, harder and thinners mix. And given the boat a light rub down with 800 grit( I used 800 as the surface didn't require a more aggressive grit through expansion,600 would have been fine just use your judgment)

The next point was to make up the normal mix, in this case due to my issue with the rowing boat I had previously made up 25ml of varnish for that project which would have achieved 4 coats, but now it needs using quickly as its shelf life is not great ( but keeping in the fridge over night helps prolong its life for up to 48 hours) 25ml is enough to give a boat this size 2 full coats including hatches and internal seams, supports ( anything that can be exposed to water).

Again using a soft brush apply a heavy coat of varnish but spread it quickly, the trick is to keep. Wet edge or you will start to drag the varnish ( making more work to clean up) the varnish will tack up within 60 seconds of hitting the surface and faster in Wamrt conditions, at 20-21 degrees the varnish is workable for an entire later on most boat sizes without to much varnish drag but when you hit 25-30 you will have a lot of issues, to which I would suggest air brushing the expoxy on instead to avoid problems.

Now some photos and more to come at each stage of progress.
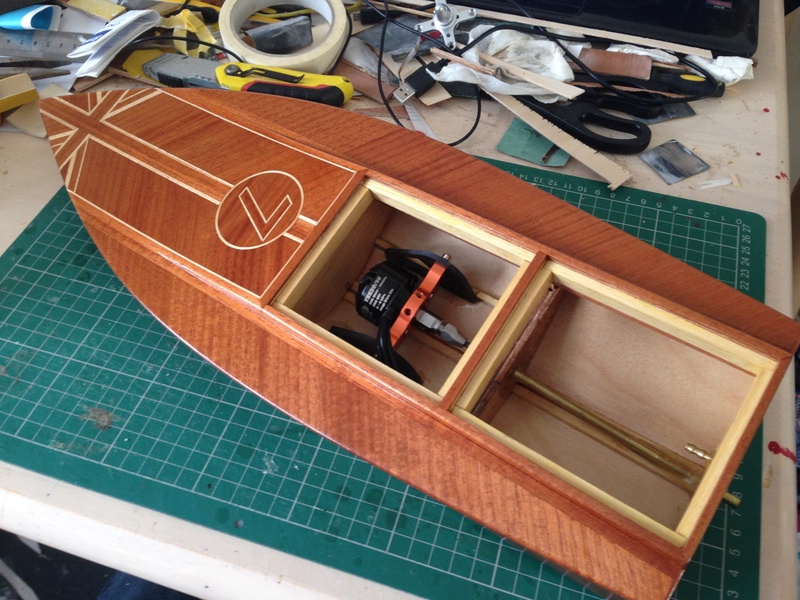
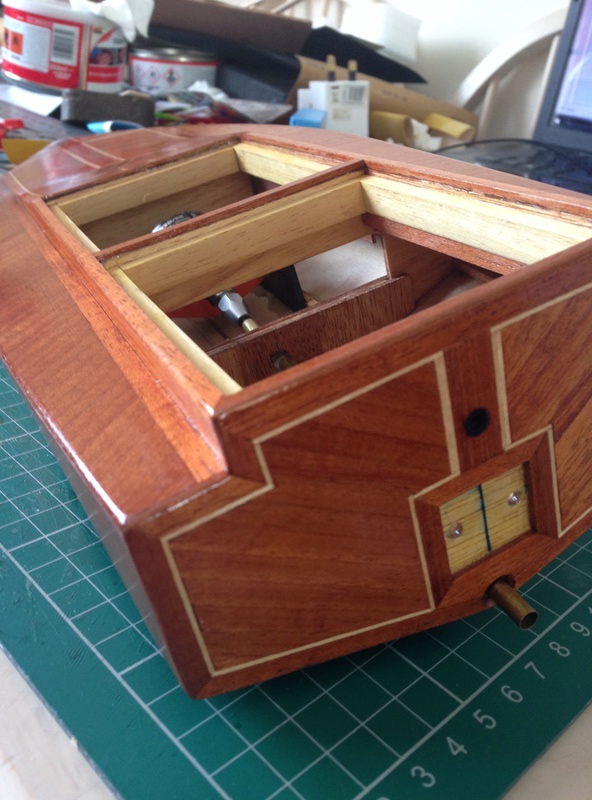
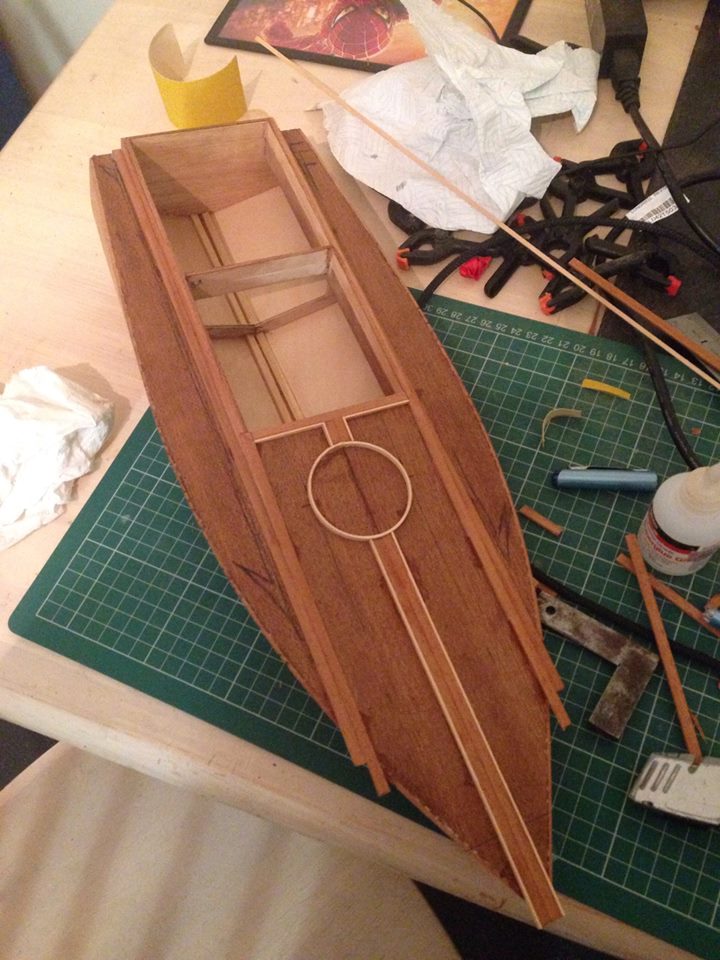
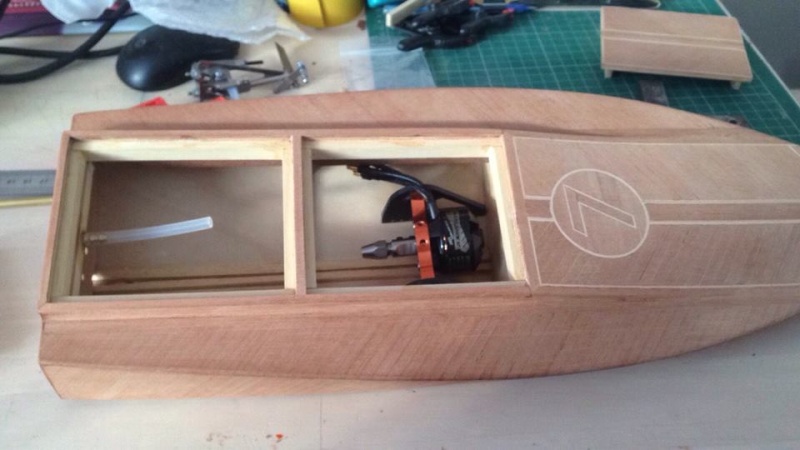
Dumas Ske Vee 10 Image30
Dumas Ske Vee 10 Image29
Dumas Ske Vee 10 Image32
Dumas Ske Vee 10 Image31

_________________
I'm  Not  Anti-Social,  I'm  Anti-Stupid.
Back to top Go down
https://www.thercmodelboatforum.com
Guest
Guest


Dumas Ske Vee 10 Empty
PostSubject: Re: Dumas Ske Vee 10   Dumas Ske Vee 10 EmptyWed Jul 27, 2016 1:32 pm

2thumbsup 2thumbsup 2thumbsup 2thumbsup 2thumbsup 2thumbsup 2thumbsup 2thumbsup 2thumbsup 2thumbsup 2thumbsup
Back to top Go down
Roadrunner
Forum Overlord
Forum Overlord
Roadrunner


Posts : 1708
Join date : 2011-06-10

Dumas Ske Vee 10 Empty
PostSubject: Re: Dumas Ske Vee 10   Dumas Ske Vee 10 EmptyFri Jul 29, 2016 12:55 pm

varnishing on hold due to weather change again ... humidity control is vital during this process, fortunately the epoxy allows for touch up and new layers years later with no side effects, more to come as weather improves!

_________________
I'm  Not  Anti-Social,  I'm  Anti-Stupid.
Back to top Go down
https://www.thercmodelboatforum.com
hirns
Deck Hand
Deck Hand


Posts : 6
Join date : 2023-03-19

Dumas Ske Vee 10 Empty
PostSubject: Outrigger drive   Dumas Ske Vee 10 EmptySun Mar 19, 2023 7:07 am

Hi Roadrunner, do you have a brand name and model number for that drive? I would like to get my hands on one.
Back to top Go down
Sponsored content


Dumas Ske Vee 10 Empty
PostSubject: Re: Dumas Ske Vee 10   Dumas Ske Vee 10 Empty

Back to top Go down
 
Dumas Ske Vee 10
Back to top 
Page 1 of 1
 Similar topics
-
» Dumas US Army 74' Tug
» Dumas-skee-vee-10
» Dumas Myrtle Cory.
» Dumas Skee Vee 10 with modern update!
» Hull finishing for plank balsa boats (RC)

Permissions in this forum:You cannot reply to topics in this forum
TheRcModelBoatForum.com :: Modelling Categories & Archived Build Logs :: Vintage Boats-
Jump to: